Users
Users
In Chocolatey Central Management, Users are people who are given access to login in, and perform operations.
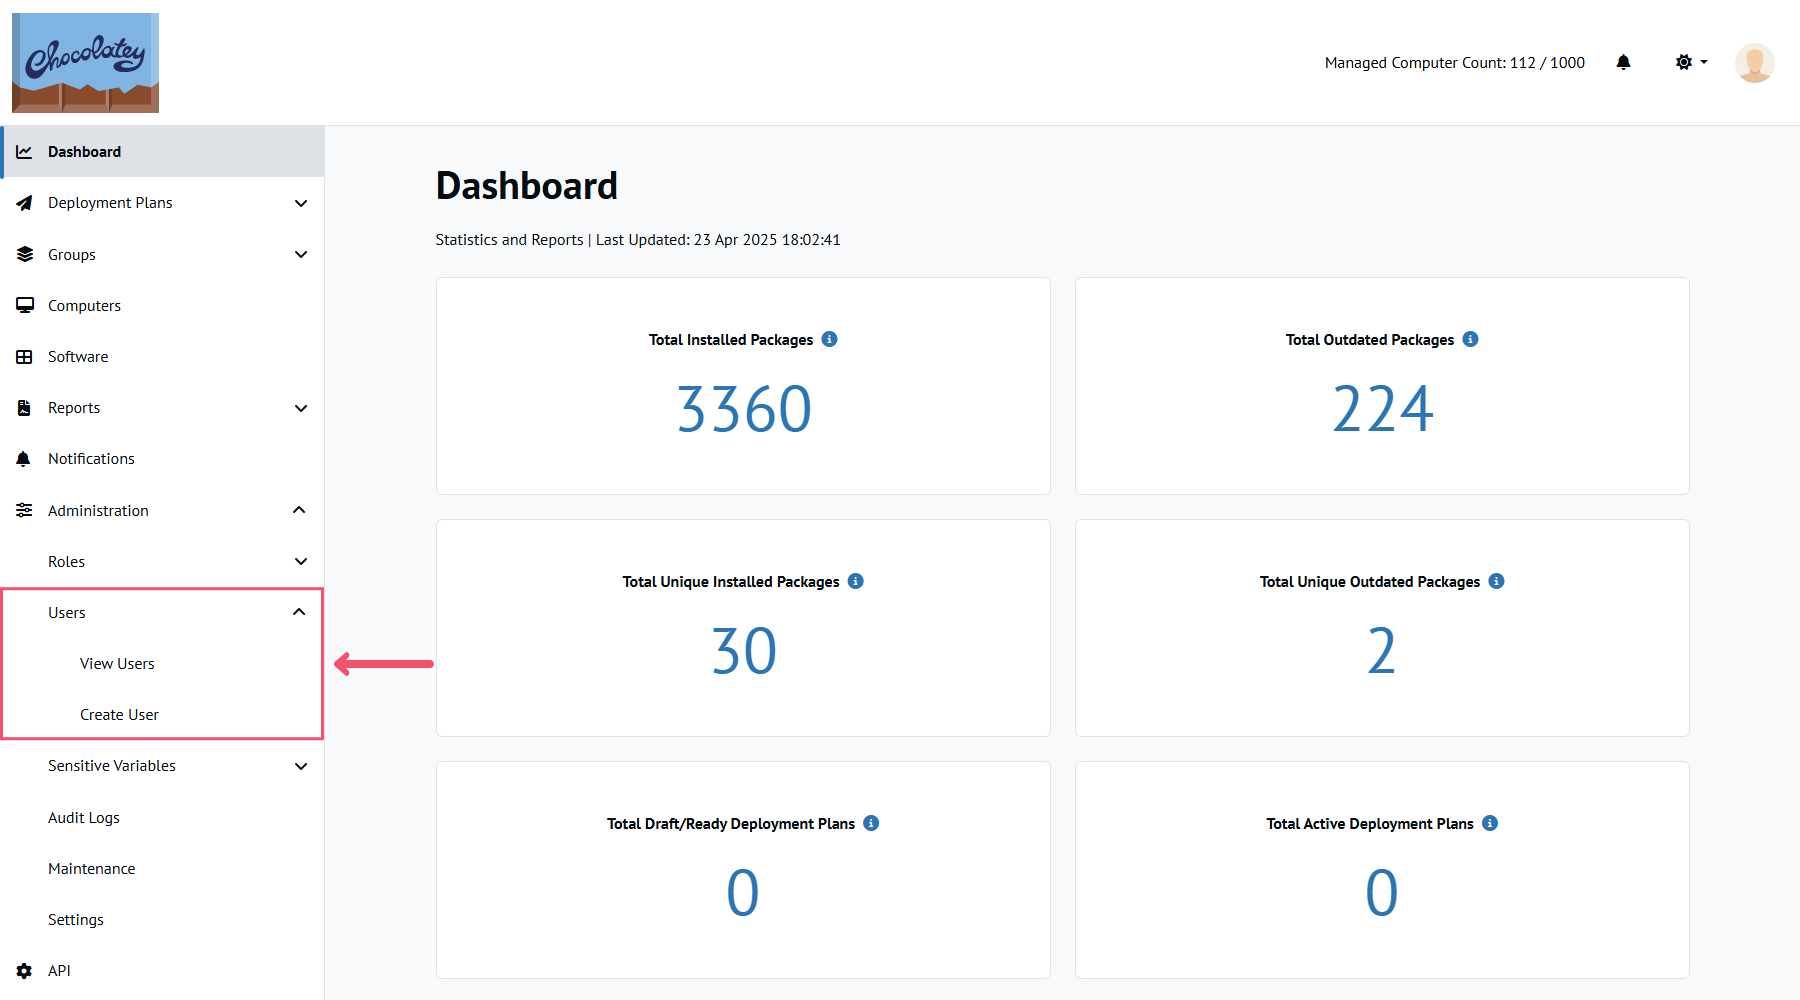
Users can be accessed by going to Administration on the left-hand navigation and selecting Users.
Creating a User
NOTE
If you do not see the Create User option, please see your Administrator to determine if your account has the Creating new user permission.
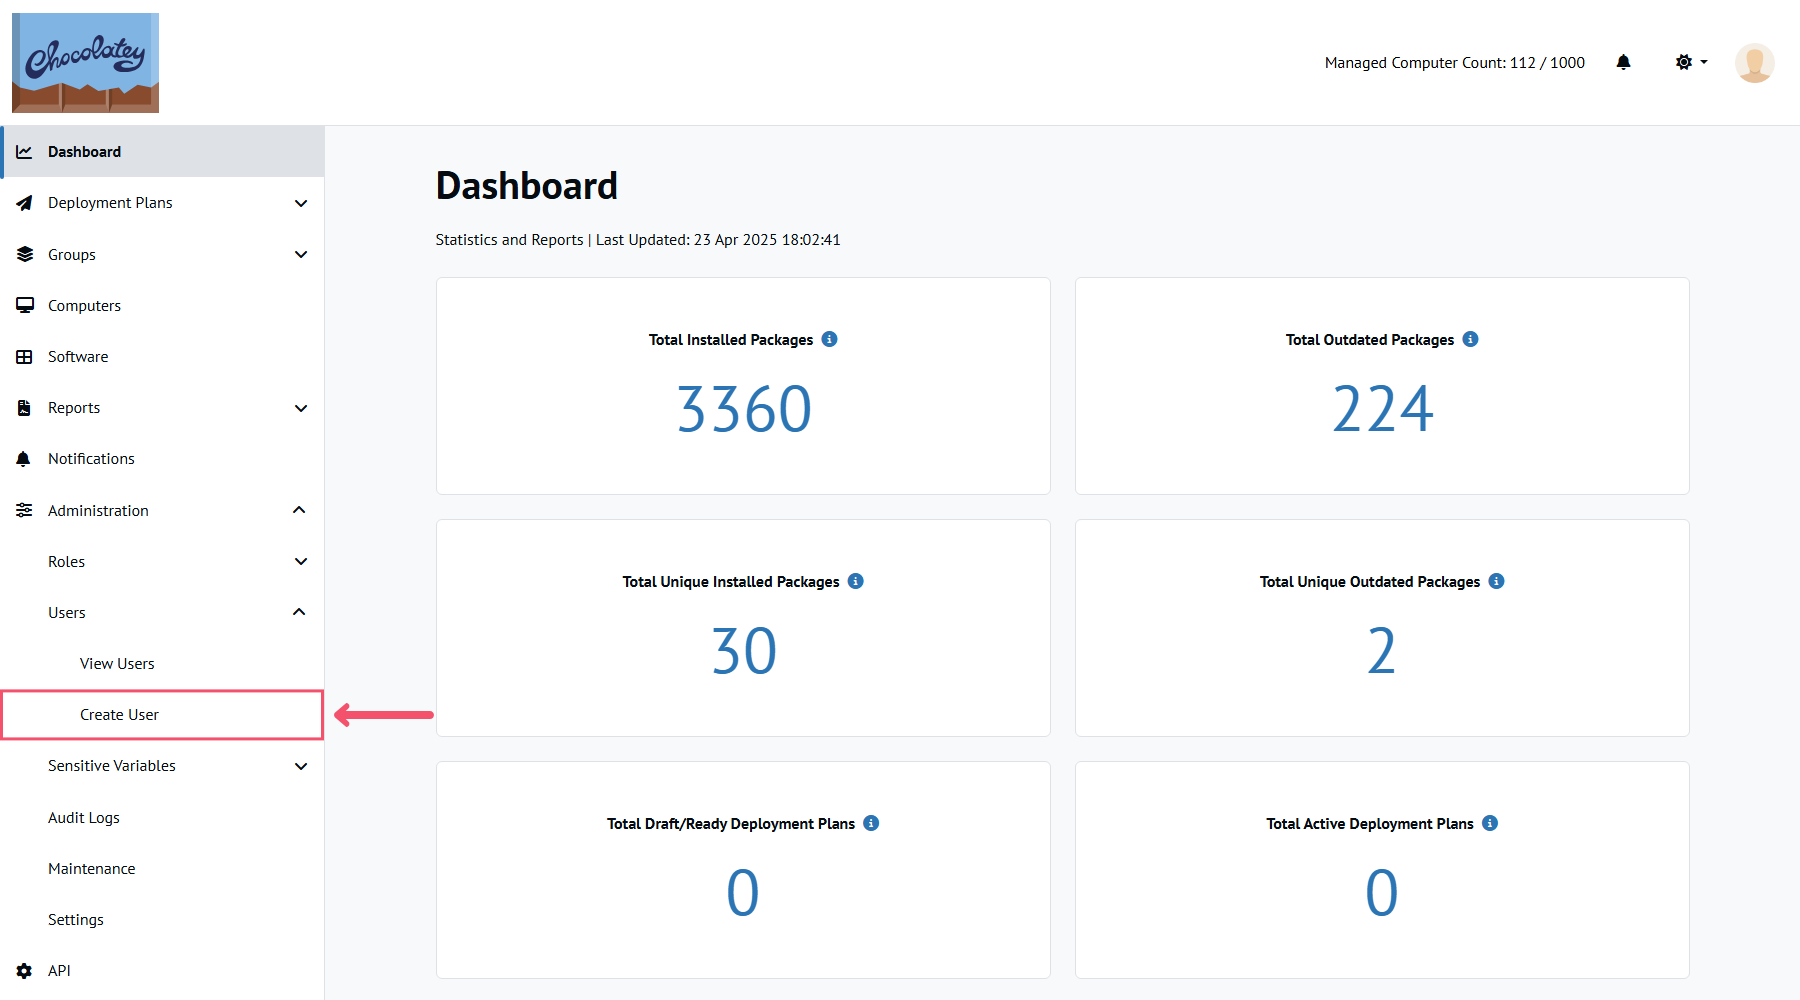
From the Chocolatey Central Management dashboard, select Administration then Users from the left sidebar and select the Create User option.
You will then be presented with the Create User modal where you can enter all the information for the User, including First Name, Email address, etc.

Next you’ll want to click over to Roles tab. This will allow you to select what specific Roles you wish to give your new User.
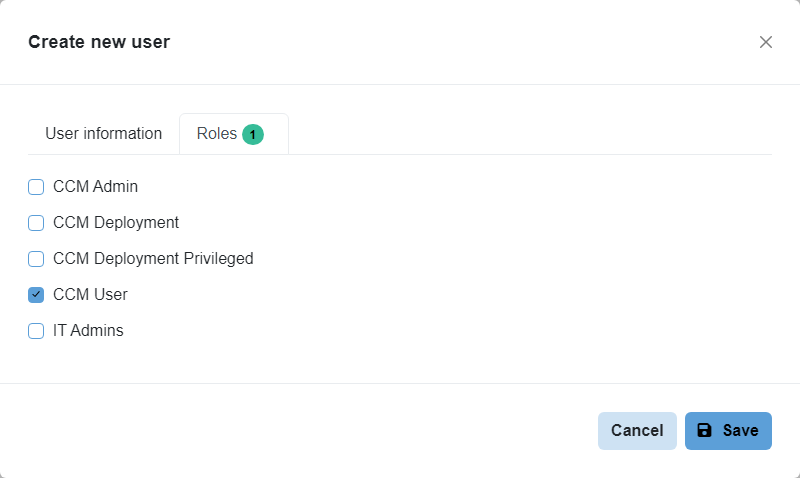
Click Save to close the modal and create the new User. A green toast notification will be shown once the operation completes successfully.
Editing a User
NOTE
If you do not see the Edit menu entry or the Actions buttons, please see your Administrator to determine if your account has the Editing user permission.
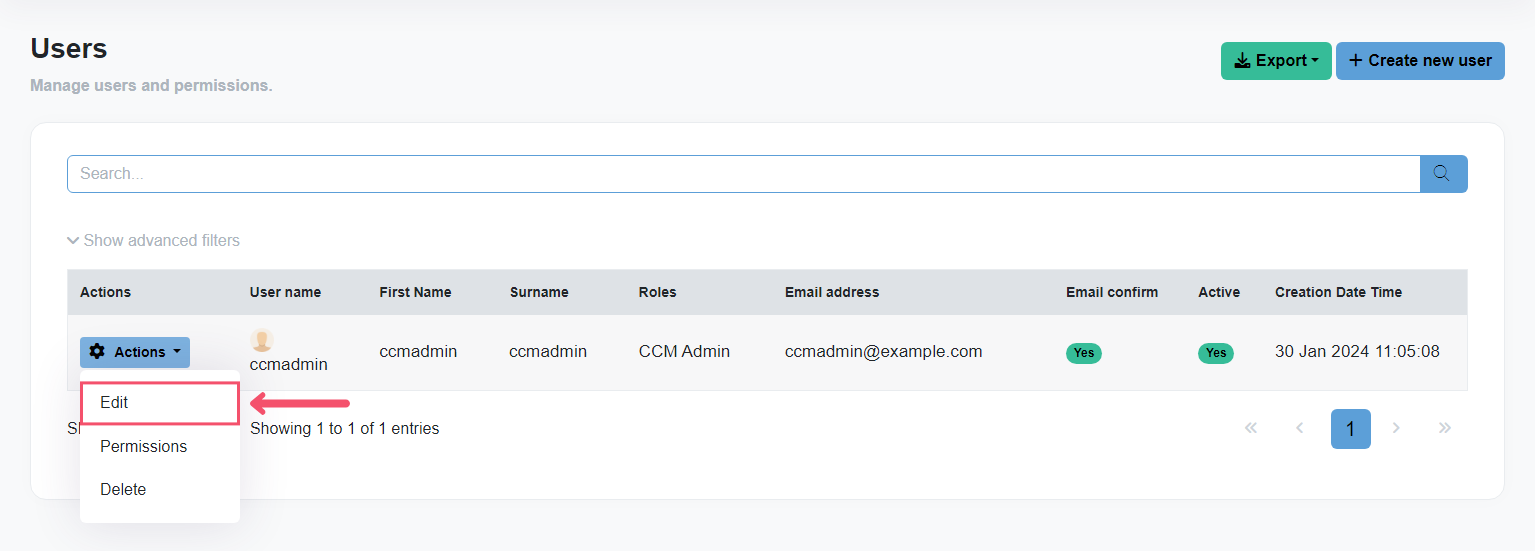
On the main Users page, find the User you want to edit. Select the Actions button on the left-hand side of the User, and then select Edit to open the Edit User modal.
From the Edit Role modal, you can modify all the properties for a User, for example, First Name, Phone number, etc. In addition, you can alter the Roles associated with the User.
Once modifications are complete, click the Save button. A green toast notification will be shown once the operation completes successfully.
Fine grained permissions
In addition to configuring a set of Roles for an individual User, so can set special permissions for an individual User.
On the main Users page, find the User you want to edit. Select the Actions button on the left-hand side of the User, and then select Permission to open the Permissions modal.

From the tree of permissions, check/uncheck the permissions that are needed.
Once modifications are complete, click the Save button. A green toast notification will be shown once the operation completes successfully.
Deleting a User
NOTE
If you do not see the Delete menu entry or the Actions buttons, please see your Administrator to determine if your account has the Deleting user permission.
On the main Users page, find the User that needs to be deleted.
Select the Actions button on the left-hand side of the User, and then select Delete.
A prompt will be shown asking Are you sure?.
Click Cancel to not continue with the operation.
Click Yes to proceed with the operation.
A green toast notification will be shown once the operation completes successfully.
Unlocking a User
NOTE
If you do not see the Unlock menu entry or the Actions buttons, please see your Administrator to determine if your account has the Editing user permission.
If a User enters the wrong login information 5 times, their account will become locked. To allow them to attempt to login again, the account will need to be unlocked. On the main Users page, find the User that is locked out. Select the Actions button on the left-hand side of the User, and then select Unlock. A green toast notification will be shown once the operation completes successfully.
Searching for a User
By default, there is a single search box, which can be used to search for a given User by their User name, First Name, Surname, and Email.
Clicking the Toggle advanced filters link, provide additional filtering options:
- Permissions
- Role
- Only locked users
Exporting User Information
From the main Users page, it is possible to export all User information into either PDF or Excel format. This can be done by selecting an option from the Actions for Users button menu.
This will generate a file name similar to Chocolatey_Users_20231122_130612.xlsx, or Chocolatey_Users_20231122_130612.pdf.
Pre-Configured Users
In a fresh installation of Chocolatey Central Management, there is a single pre-configured User called ccmadmin, which has been allocated the CCM Admin Role.