User Management
User Management
LDAP Configuration
NOTE
The Central Management Server must be joined to the Active Directory Domain.
-
Open the Chocolatey Central Management Site in the browser.
-
Login with the
ccmadminuser. -
In the left sidebar menu click on Administrationand then Settings.
-
Click on the User Management tab in the Settings screen.
-
Under LDAP Setting click the Enable LDAP authentication checkbox.
-
Fill in your FQDN for the
Domain namefield and theUser namefield with an active directory account that has access to query user accounts within your active directory environment.
-
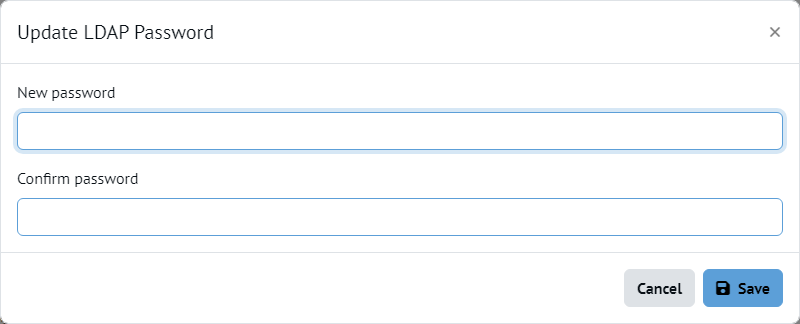
Click the Update LDAP password button to open a modal window to allow you to enter/confirm the password that is to be used.

-
Click the Save button
-
Click the Save all button at the bottom left of the page to save your settings.
NOTE
In order for LDAP authentication to succeed in versions of Central Management 0.3.1 and lower an Email Address, Surname, and GivenName must be configured on the properties of the Active Directory user you are attempting to use for login. If any of these fields are empty, errors will be encountered when attempting to login to the Central Management application.